
Overview

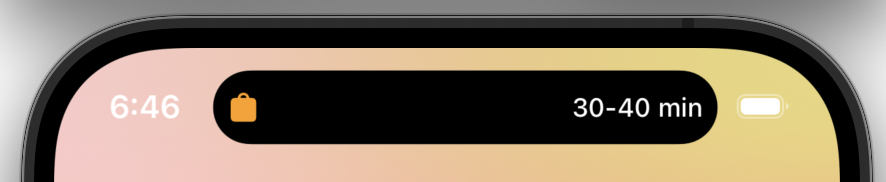
Live Activities display your app’s most current data on the iPhone Lock Screen and Dynamic Island, allowing users to monitor real-time updates at a glance. With Clix, you can remotely start and update Live Activities through push notifications.
Live Activities are available on iOS 16.1 and later. Dynamic Island is available on iPhone 14 Pro and later models.

Prerequisites

Before setting up Live Activities, ensure the following requirements are met:

Setup Guide

1. Create Widget Extension

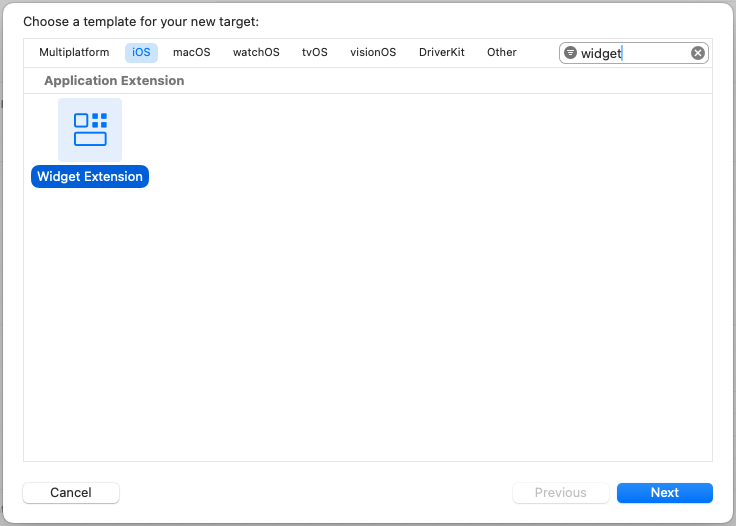
Create a Widget Extension to host your Live Activity UI.
  1. In Xcode, go to File > New > Target.
  2. Search for Widget Extension and select it.
  3. Click Next. live-activity-1-new-target.png
  4. Enter a name for your widget (e.g., DeliveryWidget).
  5. Check “Include Live Activity” to generate the Live Activity template.
  6. Click Finish. live-activity-2-widget-options.png
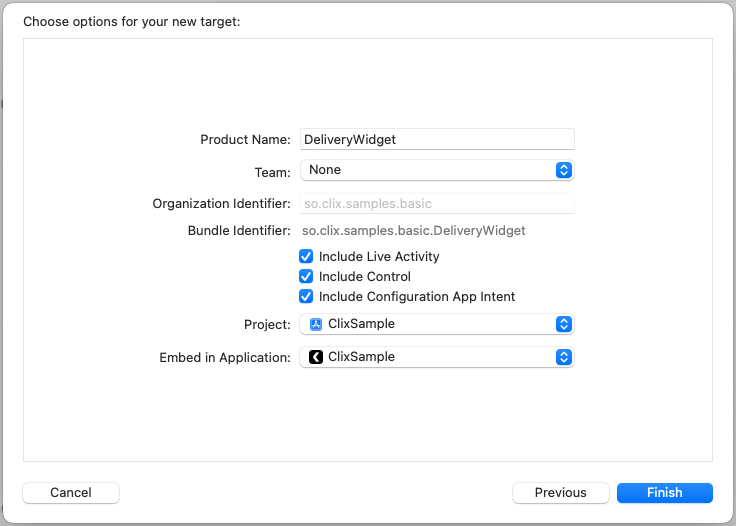
When the “Activate scheme?” dialog appears, select Don’t Activate to continue using your main app scheme.

2. Configure Info.plist

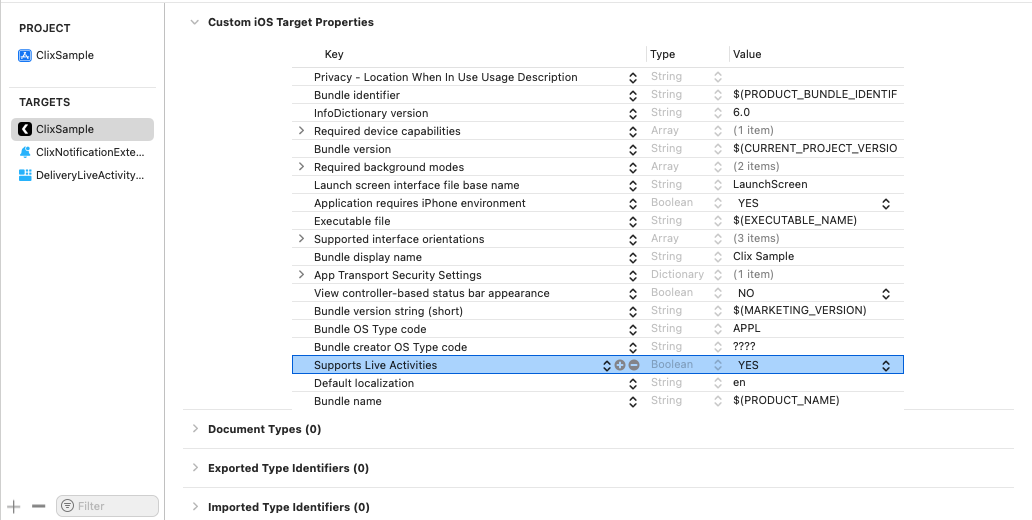
Enable Live Activities support in your main app’s Info.plist.
  1. Open your main app target’s Info.plist.
  2. Add a new key: NSSupportsLiveActivities
  3. Set the value to YES (Boolean). live-activity-3-info-plist.png
Alternatively, add this to your Info.plist source:
<key>NSSupportsLiveActivities</key>
<true/>

3. Define ActivityAttributes

Define the data structure for your Live Activity. ActivityAttributes contains static data that doesn’t change, while ContentState holds dynamic data that updates in real-time.
import ActivityKit
import Foundation

struct DeliveryAttributes: ActivityAttributes {
    // Static data - set when Live Activity starts
    public struct ContentState: Codable, Hashable {
        // Dynamic data - updates in real-time
        var currentStatus: String
        var estimatedArrival: Date
        var distanceRemaining: Double
    }

    // Static attributes
    var orderNumber: String
    var driverName: String
    var restaurantName: String
}
The ActivityAttributes struct name (e.g., DeliveryAttributes) must match the attributes_type value you send via the API.

4. Design Live Activity UI

Implement the UI for your Live Activity. This includes the Lock Screen view and Dynamic Island presentations.
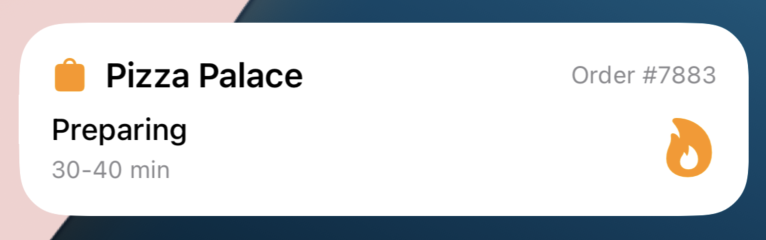
import ActivityKit
import SwiftUI
import WidgetKit

struct DeliveryLiveActivity: Widget {
    var body: some WidgetConfiguration {
        ActivityConfiguration(for: DeliveryAttributes.self) { context in
            // Lock Screen / Banner UI
            LockScreenView(context: context)
        } dynamicIsland: { context in
            DynamicIsland {
                // Expanded view (long press)
                DynamicIslandExpandedRegion(.leading) {
                    Label(context.attributes.driverName, systemImage: "person.circle")
                }
                DynamicIslandExpandedRegion(.trailing) {
                    Text(context.state.estimatedArrival, style: .timer)
                }
                DynamicIslandExpandedRegion(.bottom) {
                    Text(context.state.currentStatus)
                        .font(.headline)
                }
            } compactLeading: {
                // Compact leading (pill left side)
                Image(systemName: "box.truck.fill")
            } compactTrailing: {
                // Compact trailing (pill right side)
                Text(context.state.estimatedArrival, style: .timer)
            } minimal: {
                // Minimal (when multiple activities)
                Image(systemName: "box.truck.fill")
            }
        }
    }
}

struct LockScreenView: View {
    let context: ActivityViewContext<DeliveryAttributes>

    var body: some View {
        VStack(alignment: .leading, spacing: 12) {
            HStack {
                Image(systemName: "box.truck.fill")
                    .foregroundColor(.blue)
                Text(context.attributes.restaurantName)
                    .font(.headline)
                Spacer()
                Text("Order #\(context.attributes.orderNumber)")
                    .font(.caption)
                    .foregroundColor(.secondary)
            }

            Text(context.state.currentStatus)
                .font(.subheadline)

            HStack {
                Text("Driver: \(context.attributes.driverName)")
                Spacer()
                Text("ETA: ")
                Text(context.state.estimatedArrival, style: .time)
            }
            .font(.caption)
        }
        .padding()
    }
}
live-activity-4-lock-screen.pnglive-activity-5-dynamic-island.png

5. Share ActivityAttributes with Main App

Make your DeliveryAttributes.swift file accessible to both the main app and widget extension.
  1. Select DeliveryAttributes.swift in the Project Navigator.
  2. In the right sidebar, locate the Target Membership section under the File Inspector.
  3. Enable the checkbox for your main app target.
  4. Verify that both your main app and widget extension targets are now checked. live-activity-6-target-membership.png
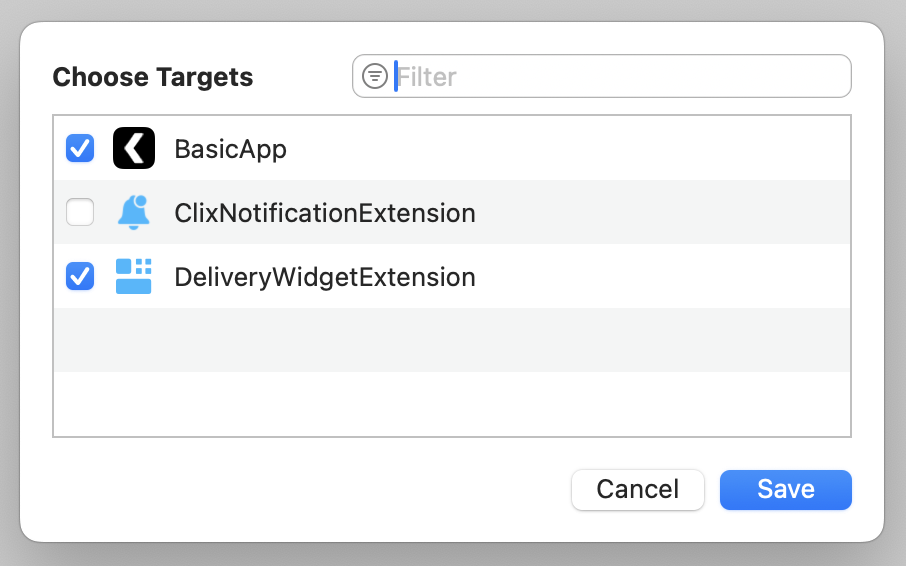
The main app needs access to DeliveryAttributes for the Clix.LiveActivity.setup() call. The widget UI file only needs to be in the widget extension target.

6. Initialize Live Activity

Register your ActivityAttributes type with Clix to enable remote Live Activity starts.
Add the setup call in your AppDelegate.swift after initializing Clix:
AppDelegate.swift
import UIKit
import Clix
import FirebaseCore

class AppDelegate: ClixAppDelegate {
    override func application(_ application: UIApplication,
        didFinishLaunchingWithOptions launchOptions: [UIApplication.LaunchOptionsKey: Any]?) -> Bool {

        FirebaseApp.configure()

        Task {
            await Clix.initialize(
                config: ClixConfig(
                    projectId: YOUR_PROJECT_ID,
                    apiKey: YOUR_PUBLIC_API_KEY
                )
            )

            // Register Live Activity attributes type (iOS 16.1+)
            if #available(iOS 16.1, *) {
                Clix.LiveActivity.setup(DeliveryAttributes.self)
            }
        }

        return super.application(application, didFinishLaunchingWithOptions: launchOptions)
    }
}
Clix.LiveActivity.setup() automatically registers the push-to-start token with Clix servers, enabling remote Live Activity starts.

Triggering Live Activities

Once setup is complete, you can start Live Activities remotely using the Clix API. For detailed API reference, see Start Live Activities API.

Additional Resources